安装编译器(MinGW-W64 GCC)
下载地址:MinGW-w64 - for 32 and 64 bit Windows
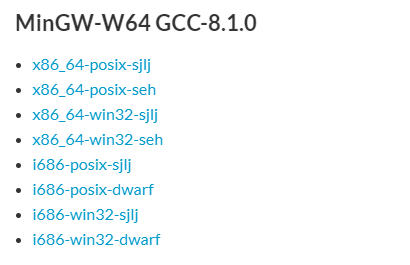
配置环境
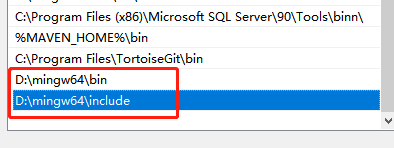
1,找到压缩文件所在位置,找到 bin,include文件夹,如下:
1 | D:\mingw64\bin |
2,配置Path
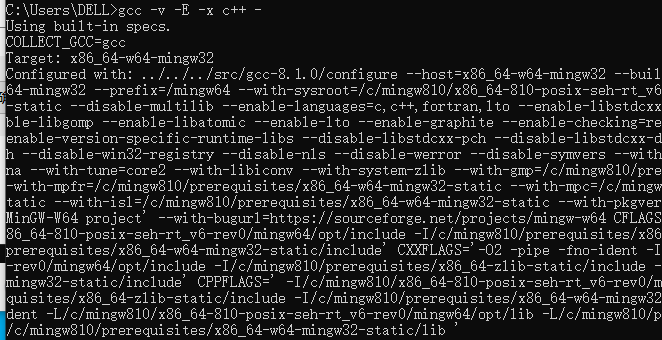
3,验证C/C++环境
按下win+r,打开cmd,输入 gcc -v -E -x c++ - 验证C
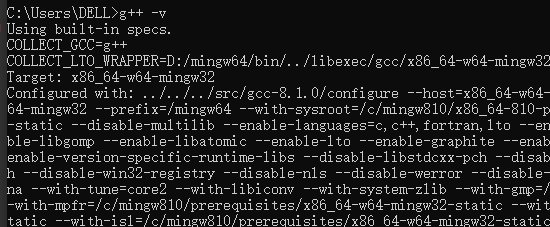
C++环境验证:g++ -v
VSCode安装插件
安装 2 个扩展插件:C/C++扩展插件 和 Code Runner。
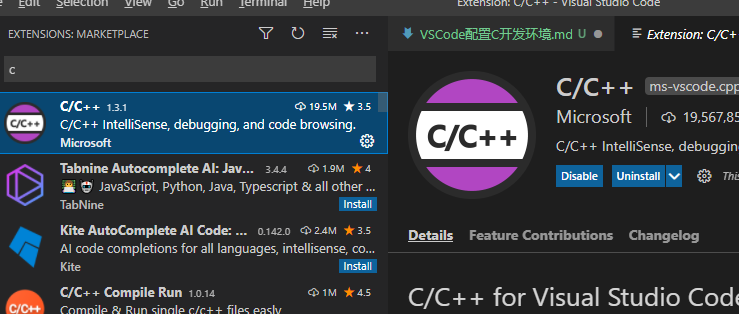
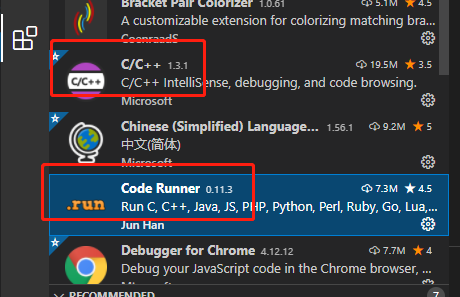
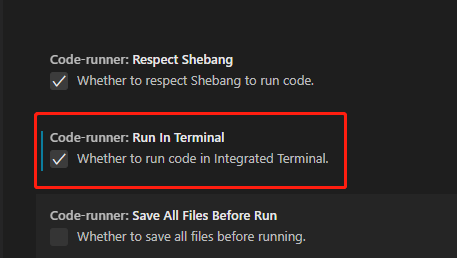
验证配置
新建 hello.c,注意:路径中不能有中文
1 |
|
如果生成的 .exe 文件打开时会一闪而过,return 0; 前加入 `system(“pause”); 语句。
1 | system("pause"); //暂停函数,请按任意键继续... |
gcc 进行 c 语言编译分为四个步骤:
1.预处理,生成预编译文件(.i 文件):
1 | gcc –E hello.c –o hello.i |
2.编译,生成汇编代码(.s 文件):
1 | gcc –S hello.i –o hello.s |
3.汇编,生成目标文件(.o 文件):
1 | gcc –c hello.s –o hello.o |
4.链接,生成可执行文件:
1 | gcc hello.o –o hello |
参考: