API网关
API网关是一个服务器,是系统的唯一入口。从面向对象设计的角度看,它与外观模式类似。API网关封装了系统内部架构,为每个客户端提供一个定制的API。它可能还具有其它职责,如身份验证、监控、负载均衡、缓存、请求分片与管理、静态响应处理。
API网关方式的核心要点是,所有的客户端和消费端都通过统一的网关接入微服务,在网关层处理所有的非业务功能。通常,网关也是提供REST/HTTP的访问API。服务端通过API-GW注册和管理服务。
Ocelot简介
Ocelot是一个使用.NET Core平台上的一个API Gateway,这个项目的目标是在.NET上面运行微服务架构。Ocelot框架内部集成了IdentityServer(身份验证)和Consul(服务注册发现),还引入了Polly(上一篇博文中提到过)来处理进行故障处理。
Ocelot的实现原理就是把客户端对网关的请求(Request),按照configuration.json的映射配置,转发给对应的后端http service,然后从后端http service获取响应(Response)后,再返回给客户端。当然有了网关后,我们可以在网关这层去做统一验证,也可以在网关处统一作监控。
集成Ocelot网关
新建项目
新建三个项目,ProductService,ClientService,APIGateWay;
APIGateWay项目新建配置文件。
注意新建的json文件需要更改属性,选择【如果较新则复制】或【始终复制】
参考代码:
https://github.com/syxdevcode/GateWayDemo.git
部署项目
1
2
3
| git clone https://github.com/syxdevcode/GateWayDemo.git
git pull origin master
docker-compose up -d --build
|
项目成功启动之后,查看运行后的IP
1
2
3
| docker inspect -f '{{range .NetworkSettings.Networks}}{{.IPAddress}}{{end}}' gatewaydemo_demo.productservice_1
docker inspect -f '{{range .NetworkSettings.Networks}}{{.IPAddress}}{{end}}' gatewaydemo_demo.clientservice_1
|
记录ClientService和ProductService容器的IP。
开放主机端口
主要供consul可以访问到网关项目地址。
1
2
3
4
| sudo firewall-cmd --zone=public --add-port=5000/tcp --permanent
sudo firewall-cmd --zone=public --add-port=5001/tcp --permanent
sudo firewall-cmd --zone=public --add-port=5002/tcp --permanent
sudo firewall-cmd --reload
|
重新运行Consul客户端容器
在consul运行目录->config目录,新建ocelot_apigateway.json文件,填入已下内容:
1
2
3
4
5
6
7
8
9
10
11
12
13
14
15
16
17
18
19
20
21
22
23
24
25
26
27
28
29
30
31
32
33
34
35
36
37
38
| {
"services":[
{
"id": "gatewaydemo_demo.clientservice_1",
"name" : "Demo.ClientService",
"tags": [
"urlprefix-/clientservice"
],
"address": "172.18.0.4",
"port": 5001,
"checks": [
{
"name": "clientservice_check",
"http": "http://172.18.0.4:5001/api/health",
"interval": "10s",
"timeout": "5s"
}
]
},
{
"id": "gatewaydemo_demo.productservice_1",
"name" : "Demo.ProductService",
"tags": [
"urlprefix-/productservice"
],
"address": "172.18.0.3",
"port": 5002,
"checks": [
{
"name": "productservice_check",
"http": "http://172.18.0.3:5002/api/health",
"interval": "10s",
"timeout": "5s"
}
]
}
]
}
|
重新运行client1容器,如果容器存在,应当先删除容器
需要在consul目录的上一级运行docker run命令
1
2
| sudo docker rm -f client1
sudo docker run --name=client1 -it -d -p 8500:8500 -v $PWD/consul:/consul consul agent -config-dir=/consul/config -config-file=/consul/client1.json
|

负载均衡
新建项目:clientservice1,并且修改如下方法,
clientservice项目同样需要修改:
1
2
3
4
5
6
7
|
[HttpGet("{id}")]
public string[] Get(int id)
{
return new string[] { $"ClinetService: {DateTime.Now.ToString()} {Environment.MachineName} " +
$"OS: {Environment.OSVersion.VersionString}" };
}
|
部署项目,并获取到容器IP;
ocelot配置文件中负载均衡的设置:
1
2
3
4
5
6
7
8
| "ReRoutes": [
{
.....
"LoadBalancerOptions": {
"Type": "RoundRobin"
},
.....
}]
|
负载均衡LoadBalance可选值:
1
2
3
| RoundRobin - 轮询
LeastConnection - 最小连接数,谁的任务最少谁来
NoLoadBalance - 不要负载均衡
|
通过consul测试,需要新建一个consul client端:
在consul文件夹下,新建config1文件夹,client2.json文件:
client2.json配置如下:
1
2
3
4
5
6
7
8
9
10
11
12
13
14
15
16
17
| {
"data_dir": "/data",
"datacenter": "consul-test",
"log_level": "INFO",
"node_name": "client2",
"server": false,
"ui": true,
"http_config": {
"response_headers": {
"Access-Control-Allow-Origin": "*"
}
},
"addresses": {
"http": "0.0.0.0"
},
"start_join": ["172.17.0.2", "172.17.0.3", "172.17.0.4"]
}
|
在config1文件夹下,新建config.json:
1
2
3
4
5
6
7
8
9
10
11
12
13
14
15
16
17
18
19
20
| "services":[
{
"id": "gatewaydemo_demo.clientservice_1",
"name" : "Demo.ClientService",
"tags": [
"urlprefix-/clientservice"
],
"address": "172.18.0.5",
"port": 5003,
"checks": [
{
"name": "clientservice_check",
"http": "http://172.18.0.5:5003/api/health",
"interval": "10s",
"timeout": "5s"
}
]
}
]
}
|
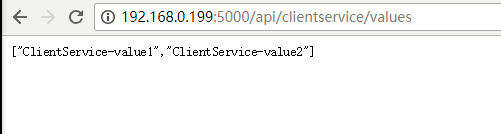
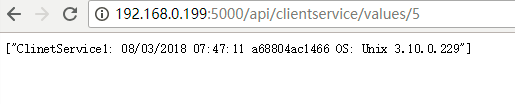
显示结果:

动态路由(Dynamic Routing)
参考代码:
https://github.com/syxdevcode/GateWayDemo.git
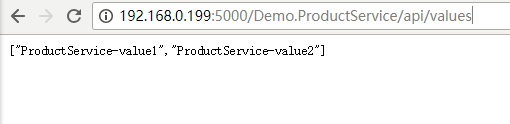
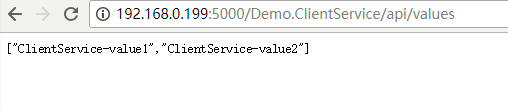
效果:
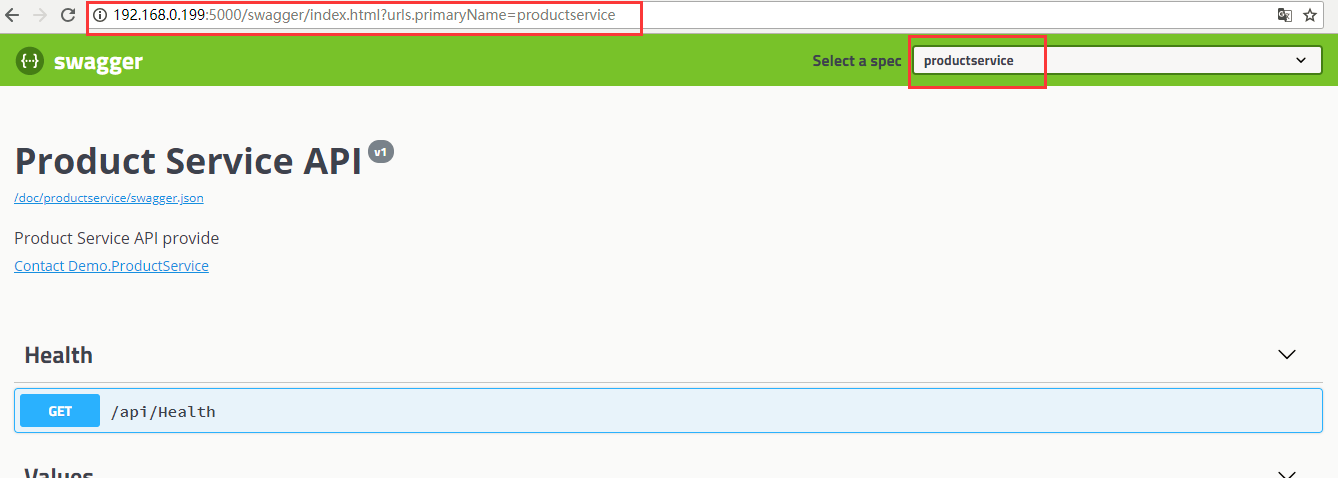
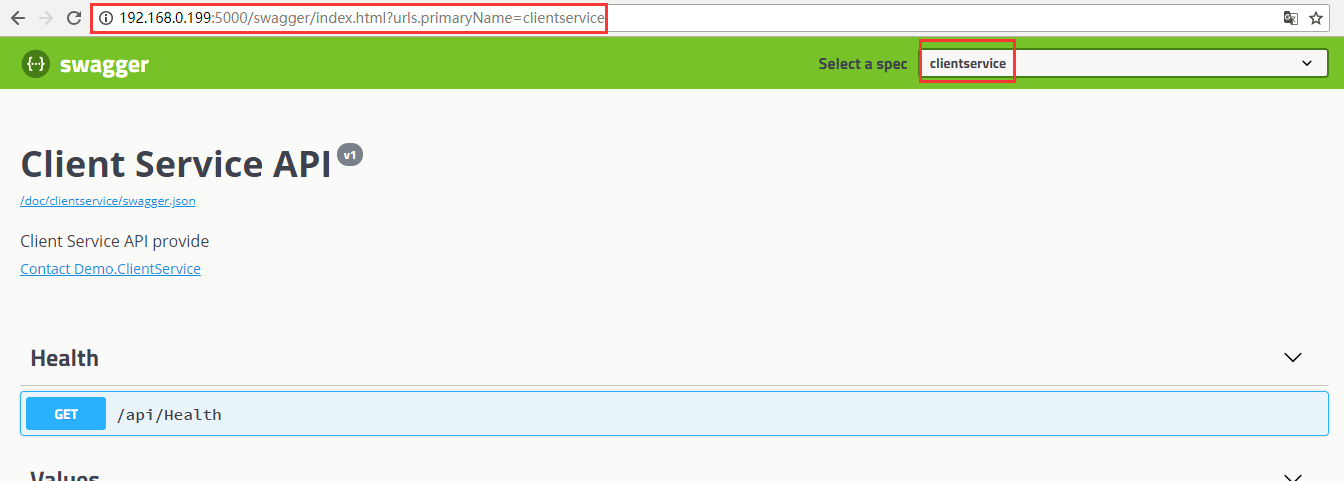
集成Swagger统一API文档入口
注:docker部署项目,需要在项目.csproj文件中添加如下属性:
1
2
3
4
| <PropertyGroup>
<GenerateDocumentationFile>true</GenerateDocumentationFile>
<NoWarn>$(NoWarn);1591</NoWarn>
</PropertyGroup>
|
参考:
.NET Core微服务之基于Ocelot实现API网关服务
Ocelot + Consul实践
.NET Core微服务之基于Ocelot实现API网关服务(续)
谈谈微服务中的 API 网关(API Gateway)